
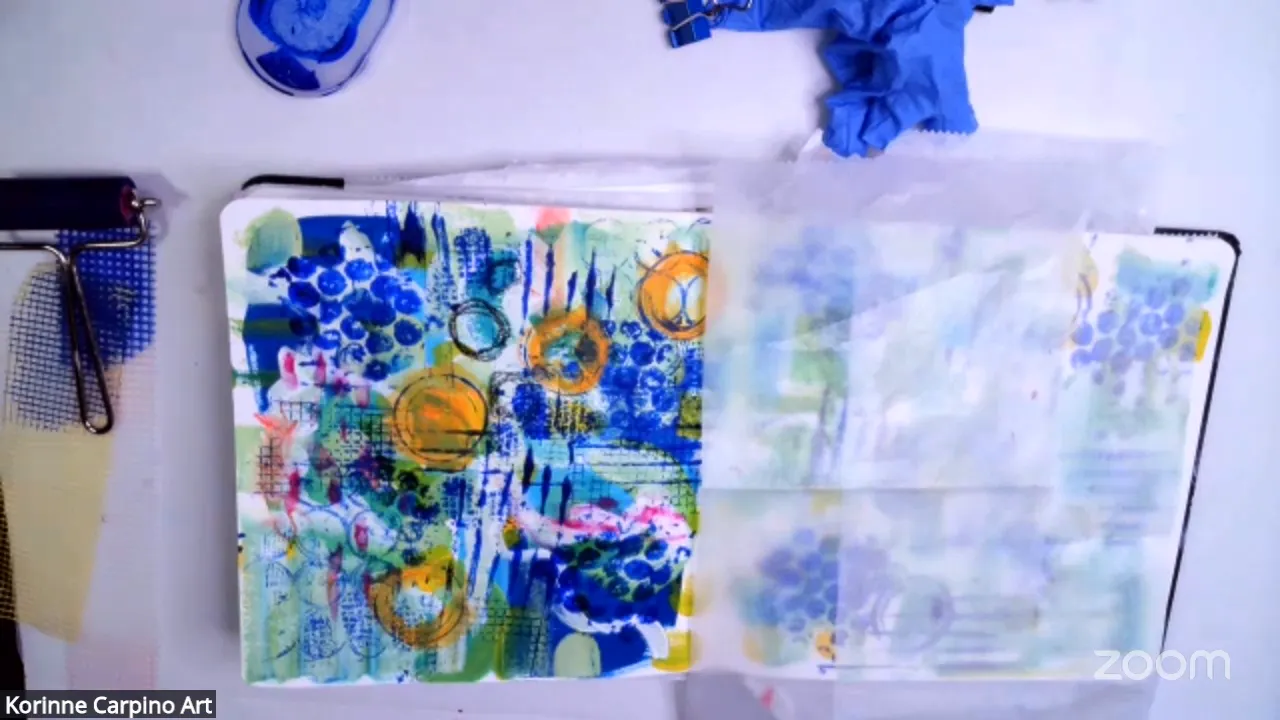
Dive into the world of mark-making mixed media as we explore various household items and tools to create unique textures and patterns. Join Corinne Carpino and Terry Jones in this engaging session where creativity knows no bounds.
Table of Contents
- Introduction to Mark Making
- Setting Up for Gel Plate Mark Making
- Tools for Mark Making
- Creating Patterns with Household Items
- Exploring Various Mark Making Techniques
- Using Alternative Tools for Mark-Making
- Layering Techniques in Mark-Making
- Final Thoughts and Tips
- FAQ
Introduction to Mark Making
Mark-making is an essential part of artistic expression, allowing artists to create unique textures and patterns. It involves using various tools and techniques to leave marks on a surface, transforming the ordinary into extraordinary works of art. This practice is not only about the marks themselves but also about the emotions and ideas they convey. Whether you are a beginner or a seasoned artist, exploring mark-making mixed media can greatly enhance your creative process.
Understanding the Importance of Mark-Making
Mark-making is foundational in many art forms, serving as a bridge between intention and outcome. Artists utilize mark-making to explore their creativity, experiment with different materials, and develop their own distinctive styles. By embracing this practice, you can discover new avenues for expression and deepen your connection to your artwork.
Setting Up for Gel Plate Mark Making
Before diving into the world of gel plate mark-making, it’s important to set up your workspace effectively. A clean, organized space allows for greater focus and creativity.
Creating Your Workspace
- Choose a Flat Surface: Ensure you have a sturdy table or desk where you can work comfortably.
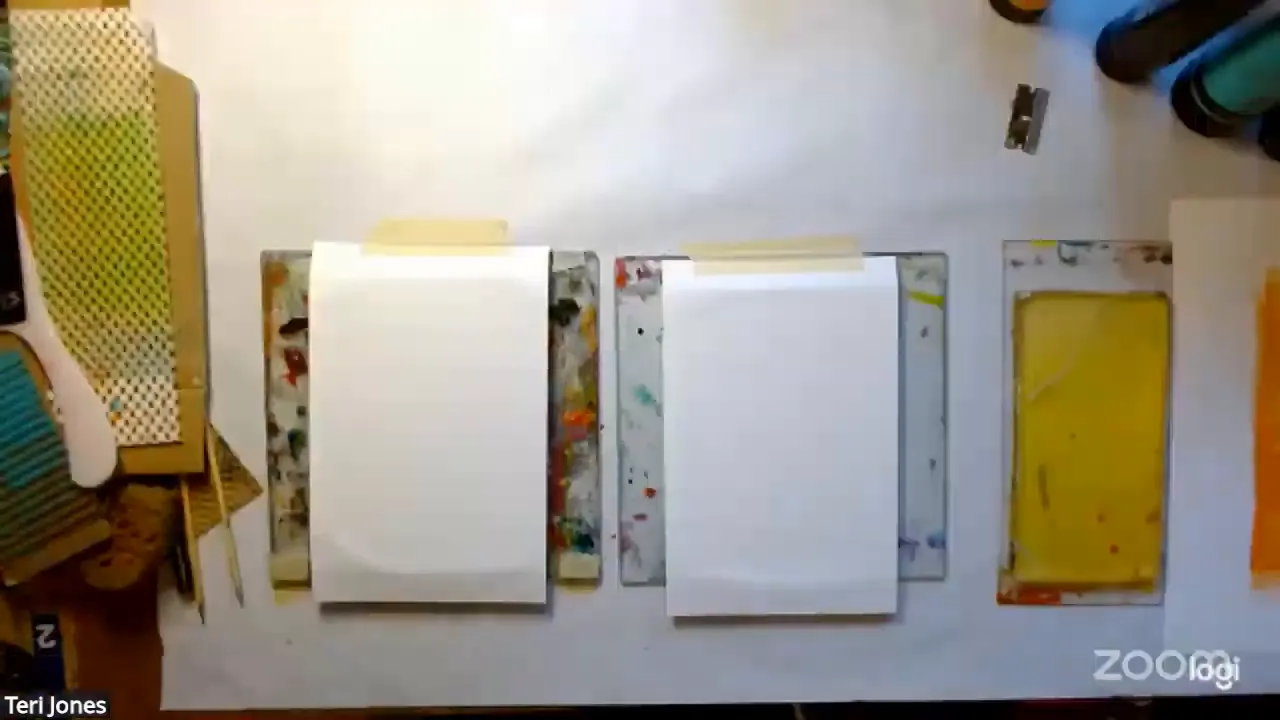
- Gather Materials: Collect your gel plate, acrylic paints, brayer, and various mark-making tools.
- Protect Your Area: Use a drop cloth or newspaper to protect your workspace from paint splatters.
Tools for Mark Making
The right tools can elevate your mark-making experience. You don’t need expensive or specialized equipment—many effective tools can be found around your home or at local stores.
Essential Tools
- Gel Plate: A versatile surface for creating prints and layers.
- Brayer: A roller used to spread paint evenly on the gel plate.
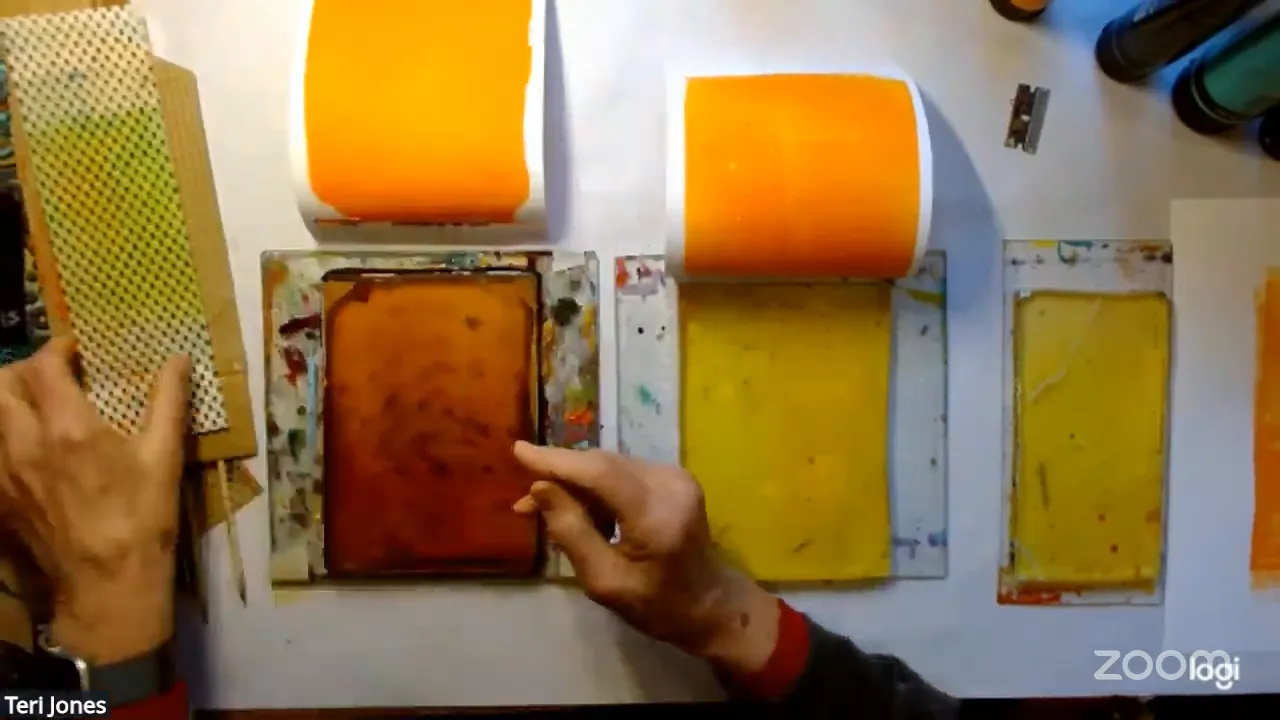
- Household Items: Look for items like cardboard, combs, and bubble wrap to create interesting textures.
- Commercial Stamps: Utilize pre-made stamps for consistent patterns.
- Natural Objects: Leaves and flowers can create organic shapes and textures.
Creating Patterns with Household Items
Household items can be surprisingly effective in mark making. They offer a variety of textures and shapes that can add depth to your artwork.
Common Household Tools
- Cardboard: Cut into shapes or use the edges to create linear marks.
- Comb: Dragging a comb through paint creates unique lines and patterns.
- Bubble Wrap: Pressing bubble wrap into paint can create interesting, raised textures.
- Bottle Caps: Use different sizes of bottle caps to stamp circles and other shapes.
Exploring Various Mark Making Techniques
Mark-making is not limited to a single technique; it encompasses a variety of methods that can be employed to achieve different results.
Techniques to Experiment With
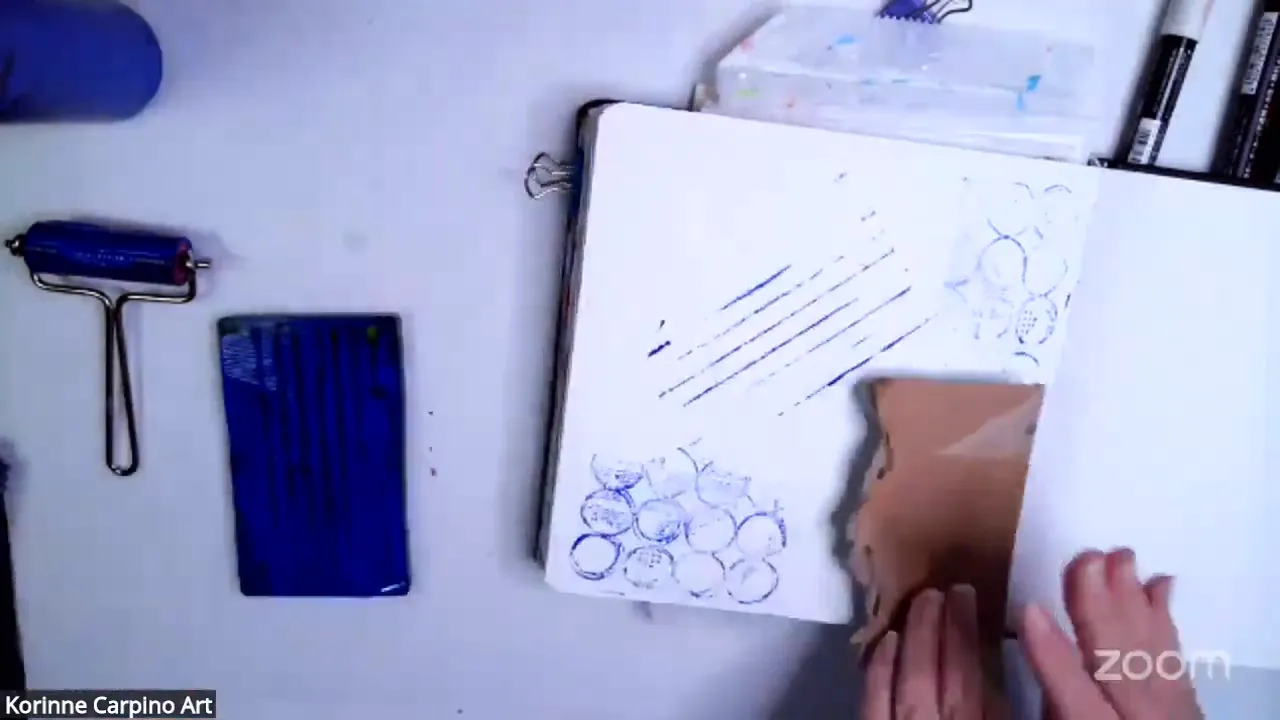
- Stamping: Use stamps or any flat object to create repeated patterns.
- Scraping: Scrape the paint off the gel plate with tools like skewers or palette knives for a different texture.
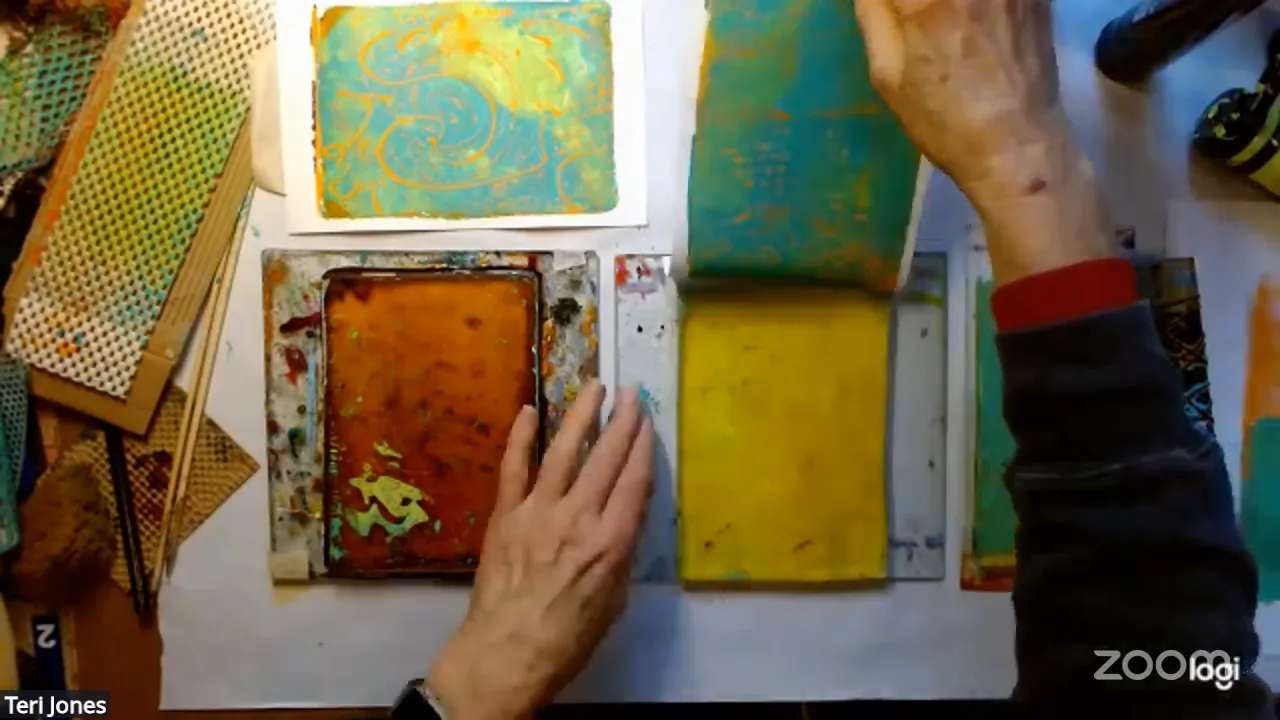
- Layering: Build depth by layering different colors and textures. Allow each layer to dry before adding more.
- Pressing: Press natural objects or textured tools into the paint to create imprints.
- Rolling: Use a brayer to roll paint onto the gel plate and create smooth, even layers.
Each technique can be combined with others to achieve stunning effects. The beauty of mark making mixed media lies in its ability to allow artists to play, explore, and discover new possibilities. By experimenting with different tools and techniques, you will find your unique voice in your artistic journey.
Using Alternative Tools for Mark Making
Exploring mark making mixed media opens up a world of possibilities, especially when you think outside the box for tools. Everyday items can serve as powerful instruments for creating unique textures and patterns in your artwork.
Household Items as Tools
- Bubble Wrap: A favorite for creating circular patterns. The texture adds a playful element to your work.
- Drywall Tape: This can create interesting square designs. There are different types; look for the non-sticky kind for best results.
- Credit Cards: Use them to scrape paint or create lines. They are excellent for making diverse patterns.
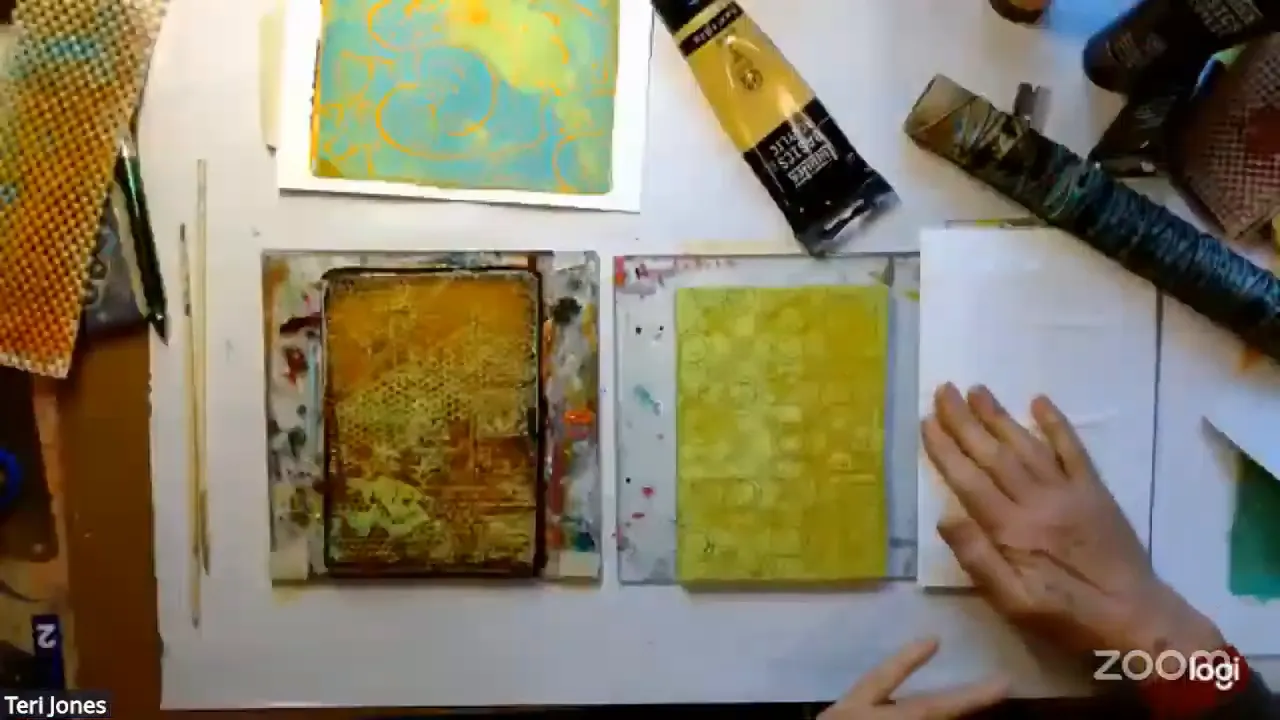
Incorporating these items into your art not only enhances creativity but also adds a personal touch. The beauty of mark making mixed media is that it encourages experimentation with whatever you have at hand.
Commercial Tools
- Distressed Crayons: These offer a unique way to stamp and add color to your work.
- Acrylic Paint Pens: Affordable alternatives to high-end brands, these allow you to create sharp, vivid lines.
- Water Soluble Crayons: Perfect for layering, they can be used as a top layer for added depth.
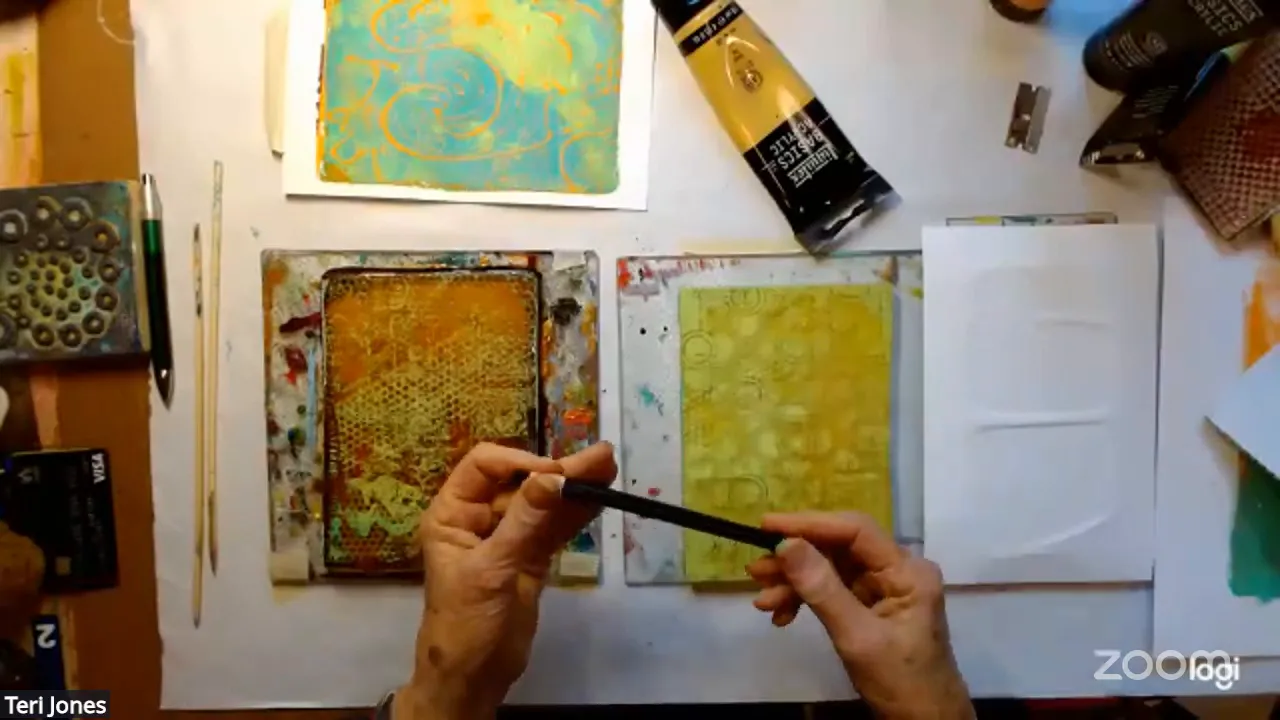
These tools can be layered, combined, and used in various ways. The key is to play and see what effects you can create. Remember, the goal is to explore and enjoy the process.
Layering Techniques in Mark Making
Layering is an essential technique in mark making mixed media. It allows you to build complexity and depth in your artwork, creating a rich visual experience.
Understanding Layering
When layering, consider the following:
- Start with Background Layers: Begin with broader strokes and colors. These will serve as the foundation for subsequent layers.
- Work with Cool Colors First: As one artist suggests, layering cool colors before warm colors helps prevent muddying your palette.
- Use Transparent Products: Incorporating transparent inks or washes will allow underlying layers to show through.
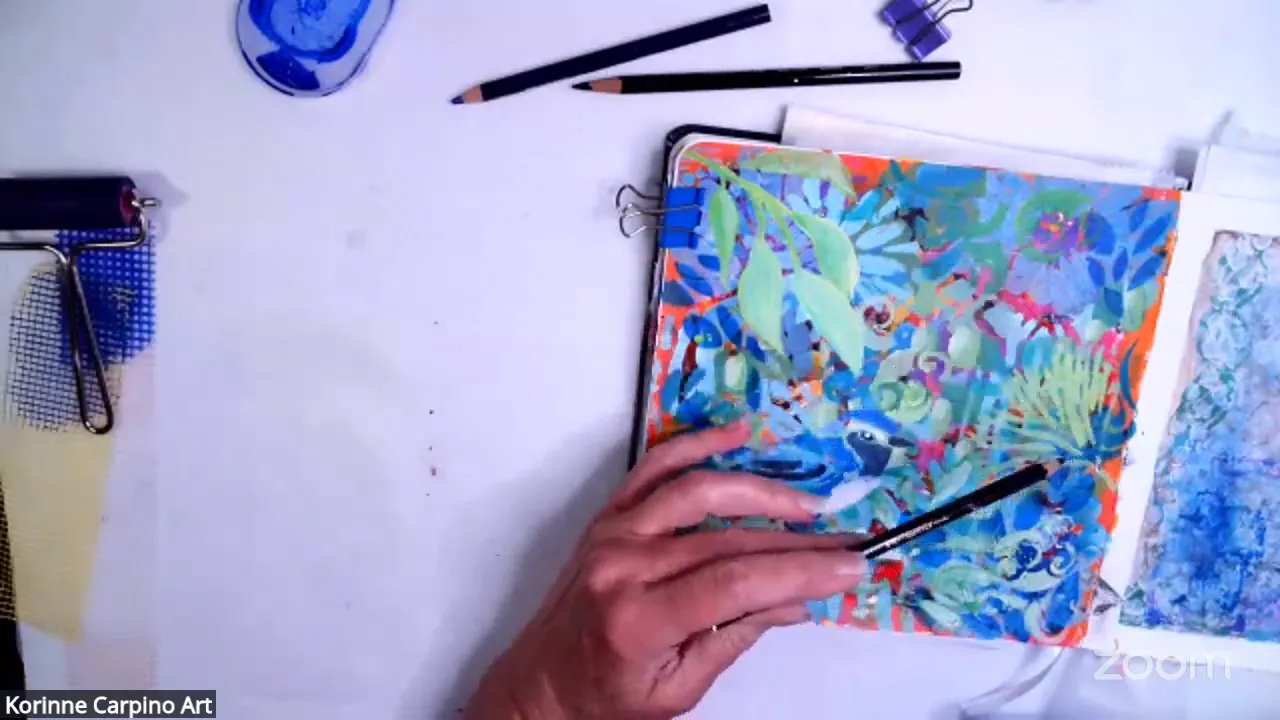
Each layer adds a new dimension to your artwork. Remember that the process is about exploration and enjoyment. Don’t hesitate to experiment with different products and techniques.
Combining Techniques
Mixing various techniques enhances the layering process. Here are some ideas:
- Scraping: Use palette knives or other tools to scrape away paint, revealing layers beneath.
- Stencils: Incorporate stencils between layers for added design elements.
- Pressing and Stamping: Use household items or stamps to create imprints that interact with the layers.
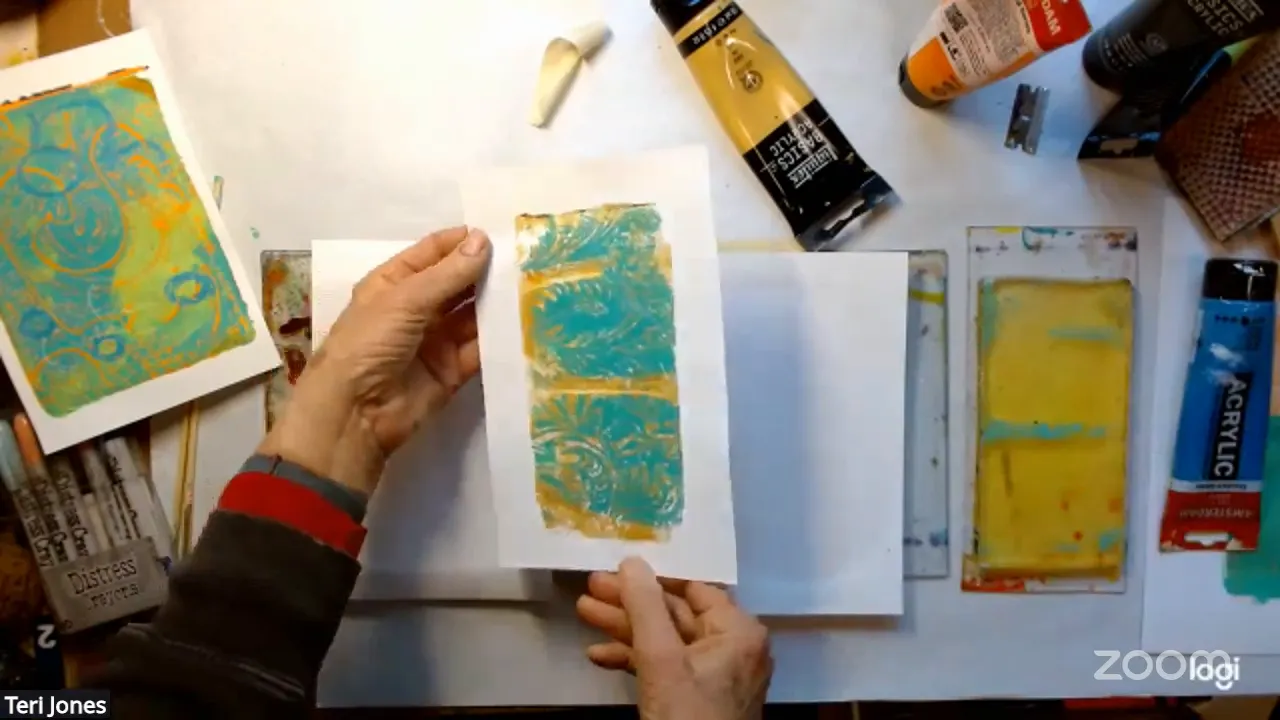
By using these techniques, you can achieve stunning visual effects that elevate your mark making mixed media projects to new heights.
Final Thoughts and Tips
As we conclude this exploration of mark making mixed media, here are some final thoughts and tips to keep in mind:
Embrace Experimentation
Don’t shy away from trying new tools and techniques. Each experiment can lead to unexpected and exciting results. The only limit is your imagination.
Keep a Journal
Document your process in a journal. This will not only help you track your progress but also serve as a reference for future projects.
Stay Organized
Maintain a tidy workspace. An organized environment fosters creativity and allows you to focus on your art.
FAQ
What types of surfaces can I use for mark-making mixed media?
You can use a variety of surfaces, including paper, canvas, and even wood. Experiment to see which surfaces work best for your chosen tools and techniques.
Can I use oil-based products in mark-making?
While oil-based products can be used, they may require longer drying times and specific techniques. Water-based products tend to be more versatile for layering and mixing.
How do I prevent my colors from becoming muddy?
To avoid muddy colors, layer cool colors first, followed by warm colors. Additionally, allow each layer to dry before applying the next.
Can I use digital tools for mark-making?
Absolutely! Digital tools offer unique possibilities for mark-making. Explore apps and software that simulate traditional mark-making techniques.
Remember, mark-making mixed media is about exploration and expression. Enjoy the journey and let your creativity flourish!
This article was created from the video Explore Mark Making Tools.
0 Comments